There are many ways in which you can alter the color palette of an image to achieve various colour effects in your images. That choice can be made in-camera or later in post-production. These are the most common and quickest ways to achieve a variety of colour effects.
 |
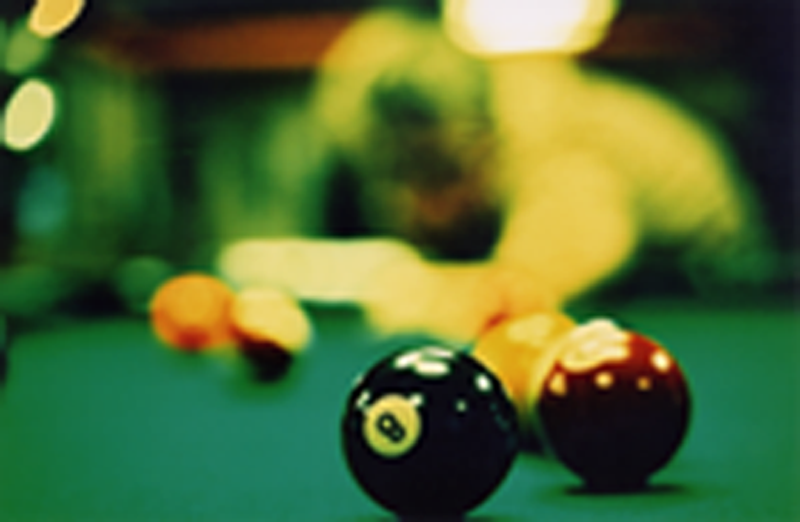
| Warm, natural sunlight is the only light source for this image. Photo ©Heather Shimmin |
IN-CAMERA ADJUSTMENTS
My philosophy is to do as much in-camera as possible. I really cringe when I talk to fellow photographers who have the I’ll-fix-it-in-Photoshop-later attitude.
The first place to start is with White Balance (WB) because it can create some really great effects. Remember the film days when you shot your Granny blowing out the candles on the birthday cake and the flash didn’t go off? It came out that orangey-red? That’s because you shot daylight film using tungsten light. Doing the reverse (shooting tungsten in daylight) makes a blueish tint. One of my favorite effects is to shoot in sunshine on the shade or cloudy setting, giving the subject a warm cast. You can also customize your WB allowing you to dial in the exact colour effect.
Many point and shoot digital cameras have presets, such as black and white, sepia, high contrast, etc. DSLRs have additional menu settings which allow you to change contrast, sharpening, tone compensation, and colour mode, all of which can create dramatic or subtle colour changes.
I would recommend, however, never shooting in black and white because you can never have that image in colour if you decide to change your mind later.
POST-PRODUCTION CHANGES
The sky’s the limit in post. The first place to start is in camera RAW with the usual and before-mentioned techniques. If that doesn’t get you what you want, start to fiddle with photoshop layers and blending options where the possibilities are endless. Here is an example:

The one on the right is the original, the one of the left has an added fill layer of yellow and a blending mode on overlay.
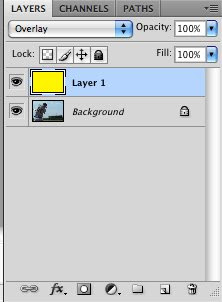
Step 1: Create a new layer
Step 2: Select the paint bucket tool
Step 3: Select a solid colour (I choose a bright yellow)
Step 4: Fill the whole layer with your colour
Step 5: Change the blending modes and see what happens (I liked overlay)
Step 6: You can also adjust the fill and opacity
The fill and adjustment layer (the half black half white circle icon in the layers palette) also provides endless possibilities. Here, you can adjust levels, invert the image, and apply photo filters, among other things.
These are the main tools and tricks to alter the colour palette of an image. Now that you have all of these tools at your fingertips, the next challenge is to recognize when you should use them. Just because you can do something, doesn’t mean you should.
 |
 |
 |
 |